This article is intended for site owners who need to secure a WordPress site that is outdated and vulnerable. The steps below use the WordPress Management tool in cPanel, which provides a simple way to update, configure, and harden WordPress.
Step 1: Accessing cPanel
To begin, please log in to cPanel. This is the control panel where you can manage various aspects of your website, including WordPress installations.
Accessing your hosting control panel (cPanel)
Step 2: Opening the WordPress Management tool
-
In cPanel, open WordPress Management.

Step 3: Finding Your WordPress Installation
-
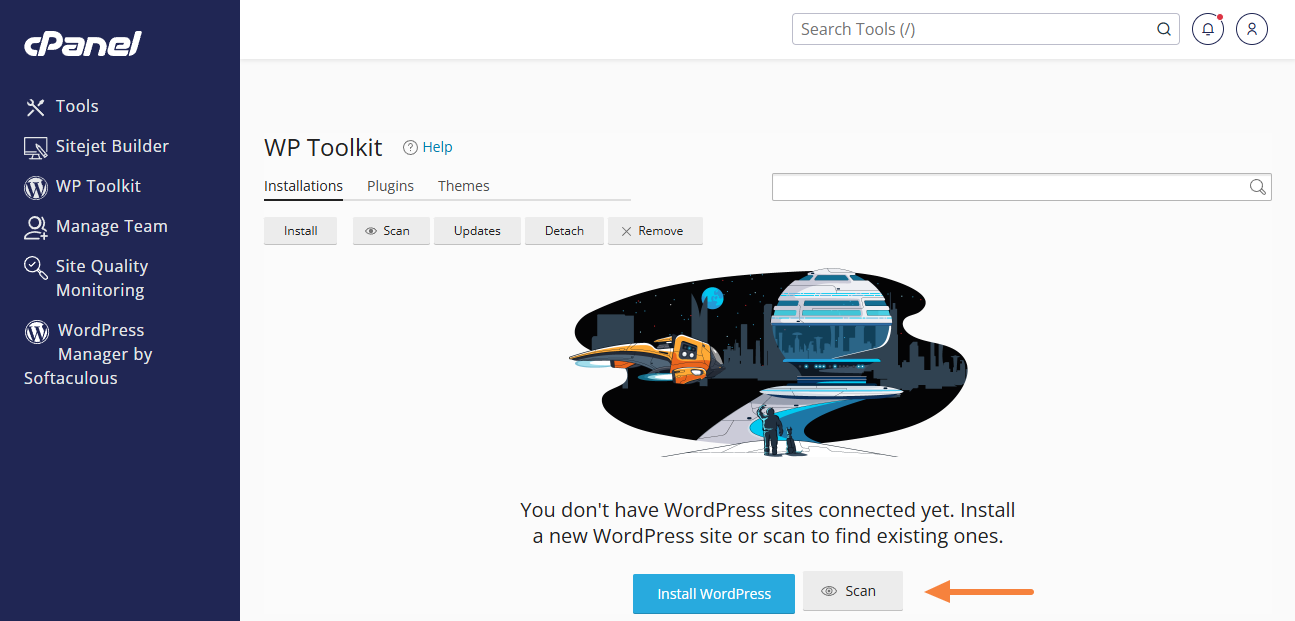
On the WordPress Management overview page, you will see a list of all the WordPress installations associated with your hosting account.
-
If there are no existing WordPress installations added to WordPress Management, please click on the "Scan" button and WordPress Management will look for existing WordPress sites on your hosting account:
Note: If no WordPress site can be found, please assure that there is no existing file named
.wp-toolkit-ignorein the main directory of the site. - Locate the specific website and click on the toggle on the left to pull down the site overview:

-
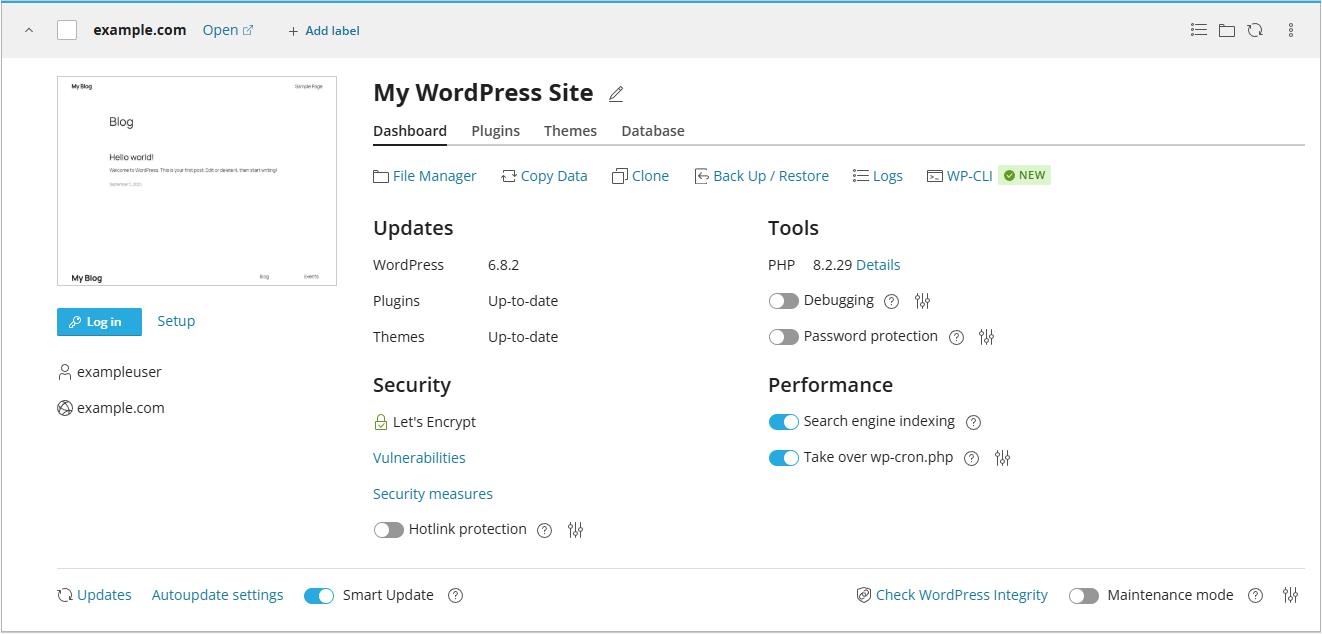
The site overview may look similar to this:

Step 4: Back Up Your Site
Before making any changes, create a restore point (backup) to ensure you can roll back if needed.
Follow this guide: How to Back Up and Restore a WordPress Site with cPanel’s WordPress Management.
Step 5: Update WordPress, Plugins and Themes
-
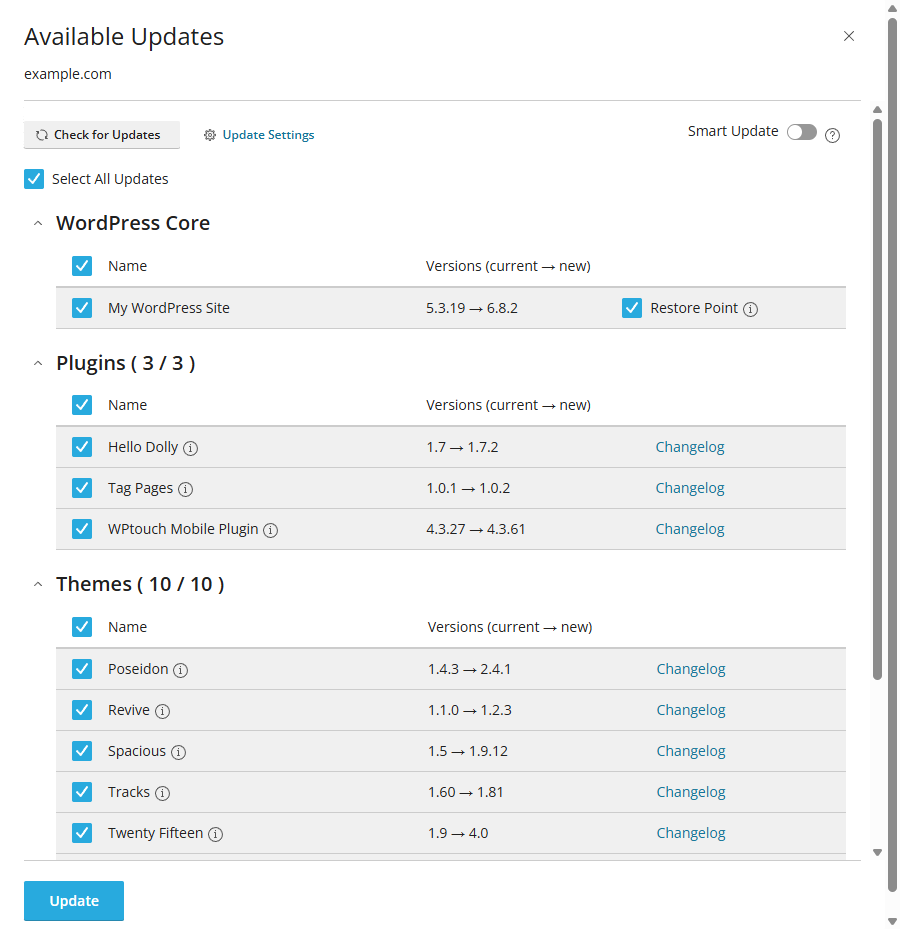
If updates are available, you’ll see them listed under Updates.
-
Select WordPress Core, Plugins, and Themes.
-
Tick Restore Point if available (skip if you already created a backup).
-
Click Update to install all updates.
Optional: Enable Smart Update under the site's overview before running updates. This clones your site temporarily and tests the update before applying it. Only enable this if you have at least 50% free disk space (or double the site’s size available).
After updates finish, check your site to confirm it works correctly.
Step 6: Enable Automatic Updates
-
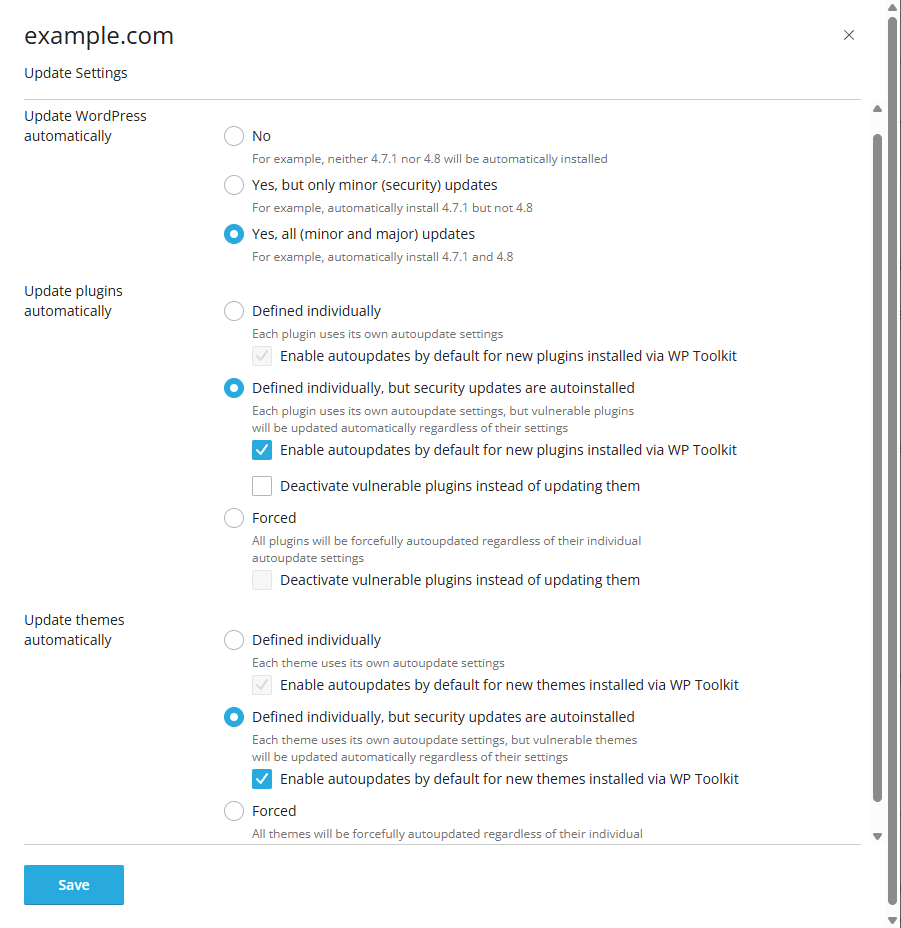
Go to Update Settings.
-
For best security, enable:
-
WordPress Core: Yes, all (minor and major) updates
-
Plugins: Defined individually, but security updates are autoinstalled
- Optionally:Enable autoupdates by default for new plugins installed via WP Toolkit
-
Themes: Defined individually, but security updates are autoinstalled
- Optionally:Enable autoupdates by default for new themes installed via WP Toolkit
-
This ensures your site receives updates automatically without manual intervention.
Step 7: Configure Plugins and Themes
-
Open the Plugins tab → Enable Autoupdate all plugins.

-
Open the Themes tab → Enable Autoupdate all themes.

-
Remove any inactive or unneeded plugins and themes.
Be careful not to delete the parent theme if you are using a child theme.
Additional recommendations:
-
If a plugin or theme is still marked as vulnerable after updates, it usually means no update is available.
-
Check when the plugin/theme was last updated. If it has not been maintained for 12 months or longer, it may be discontinued — in that case, it should be replaced or removed.
-
Premium plugins and themes often need to be updated manually. Make sure you have an active license to receive the latest updates. Some premium themes include bundled premium plugins, which must also be updated through the theme’s package or developer site.
Step 8: Update PHP Version
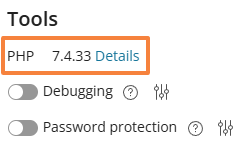
Using an outdated PHP version leaves your site vulnerable.
-
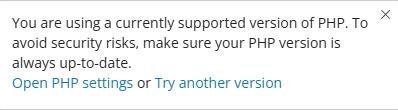
In WordPress Management, click on Details next to the PHP version that your account is running (e.g. PHP 7.4).
-
Click on Open PHP settings (opens the Select PHP Version page) or Try another version (opens Smart PHP Update).
-
Switch to the latest or native version.
Guides:
Step 9: Apply Security Measures
-
In the Security section, click Apply critical security measures.

-
Recommendation: Apply all critical and recommended security measures (e.g. blocking access to sensitive files, disabling PHP execution in cache directories).
- The critical measures are already pre-selected, as in the above screenshot, but we recommend ticking all boxes to apply the recommended measures as well.
Step 10: Mitigate vulnerabilities
If you've applied all WordPress updates, there normally should no longer be any security vulnerabilities. However, sometimes certain plugins and themes may not be patched on time by their developers, or at all.
-
If your site still has any vulnerabilities after being updated, the link Mitigate vulnerabilities will continue to appear under the Security section. The following section will open when you click on the link:
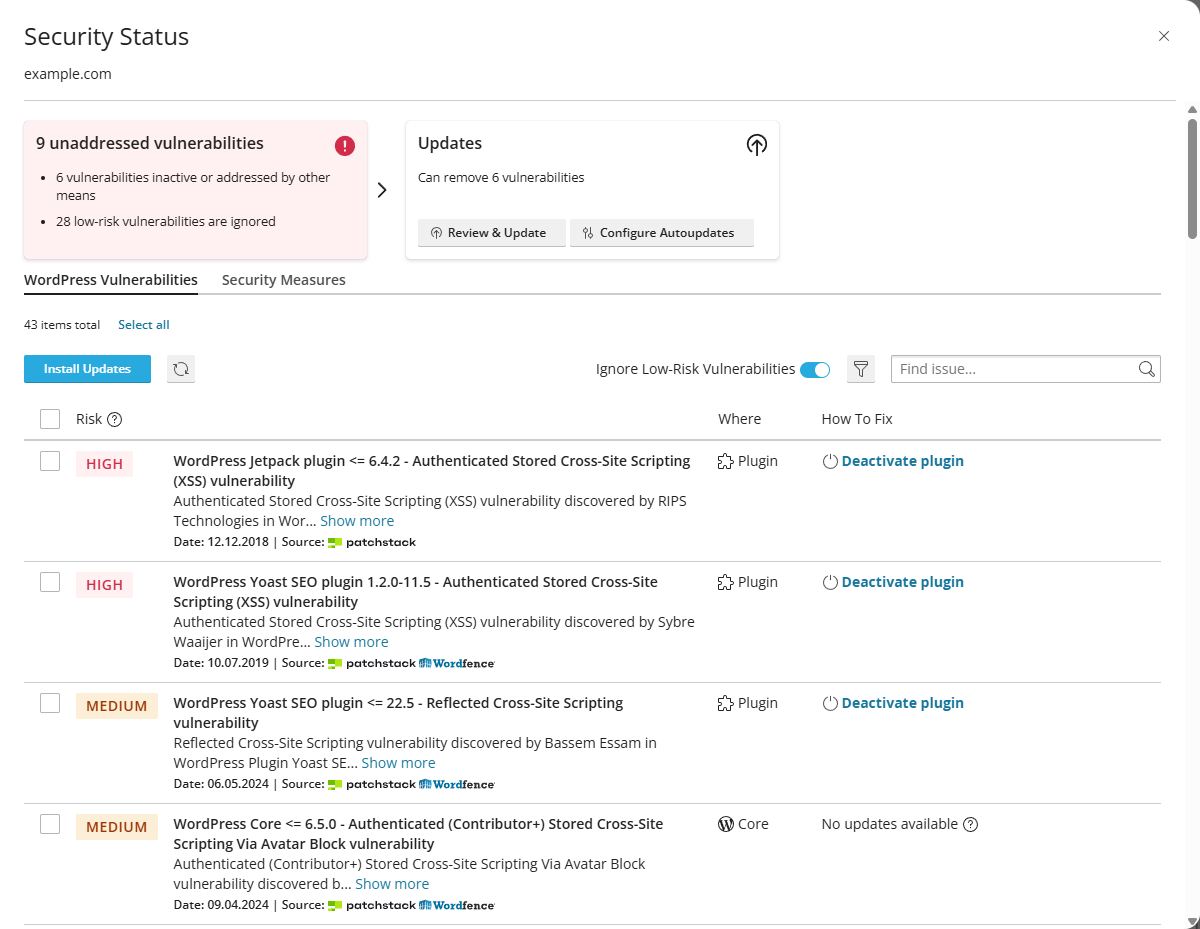
- Update or deactivate the affected plugins/themes.
Step 11: Verify WordPress Core Integrity
-
Click Check WordPress Integrity and the Verify Checksums button:
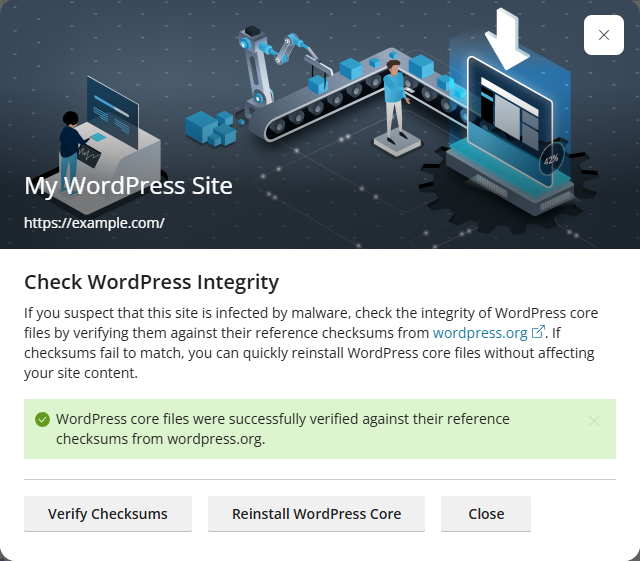
- If the verification passes, you will see the message in the green box. No further action is required.
-
If the verification fails, you will get a list of files which fail the integrity check:
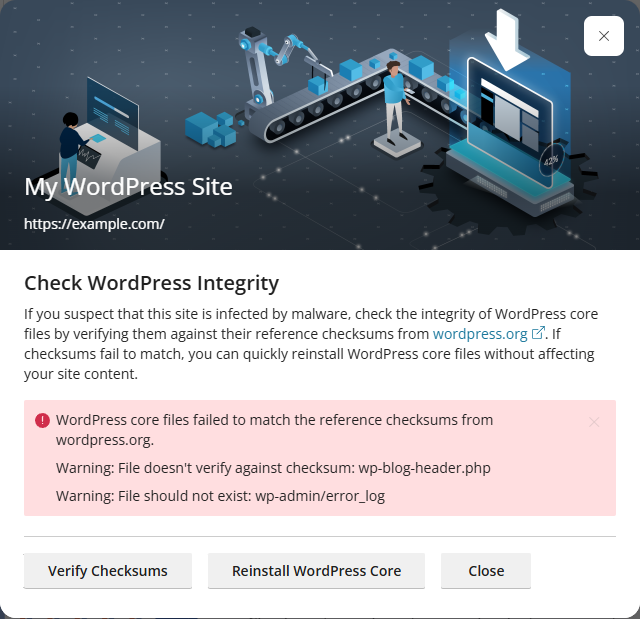
- This usually indicates that the WordPress files have been manipulated and your site was compromised / infected.
-
Contact our support to run a malware scan and advise further.
-
If the site is not infected or compromised, but the check fails due to technical issues, click Reinstall WordPress Core (your content won’t be affected).
Step 12: Enforce HTTPS
-
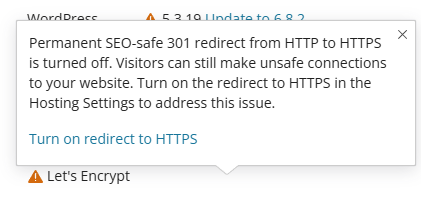
Under the Security section, if you see warnings like Redirect to HTTPS turned off or Protocol mismatch:
-
Click Turn on redirect to HTTPS.
-
Or click Switch WordPress to use HTTPS.

-
-
In cPanel → Domains, enable Force HTTPS Redirect.
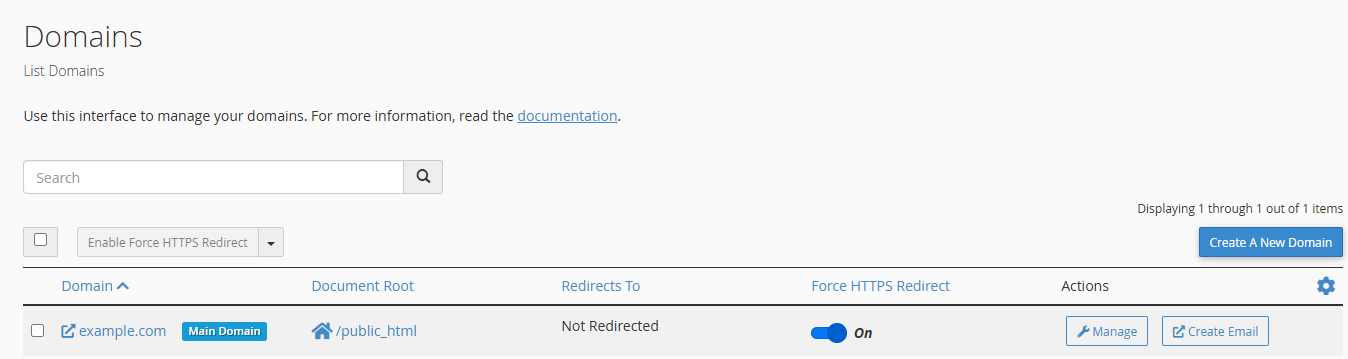
This ensures all visitors connect securely.
Step 13: Improve Performance
Enable Take over wp-cron.php under Performance.

This improves site speed and reliability by replacing WordPress’s default visitor-triggered cron with a server-side scheduled task.
The option Search engine indexing should be enabled if the site is public and should be visible to search engine crawlers.
Step 14: Regular Maintenance
-
Keep backups up to date.
-
Revisit WordPress Management regularly to check for updates or vulnerabilities.
-
Use only trusted plugins and themes.
If the site is in good health and there are no issues detected by the WordPress Management tool, the site overview should show up like this:
✅ By following these steps, your site will be updated, secured, and better optimised against vulnerabilities and performance issues.
Updated by SP on 09/09/2025


