Data loss can strike unexpectedly, and having a reliable backup solution is crucial for safeguarding your website's files. R1Soft Server Backup is a popular choice for cPanel servers, offering robust features for efficient data protection and recovery. All our hosting plans include backups by R1Soft Server Backup.
Generally speaking, we keep 21 daily backups and 2 end-of-month backups from which your site and other data can be restored. The files of your hosting account can be restored on a self-service basis, but databases need to be restored by our backup specialists. If you'd like to have a MySQL database restored, please contact our technical support department and we'll perform the restore within 24 hours.
In this guide, we will walk you through the steps to restore site files from R1Soft Server Backup on cPanel servers.
Step 1: Clean Up the Current Files
Before we restore the files from a backup, it's necessary to either remove or rename the current document root directory - the directory under which your site is installed. Otherwise, files that may have not existed before in the backup will not be removed, which can potentially include malware files.
If you're hesitant to delete the current files or would simply like to save a copy of them, as a precaution, you may want to download a backup of the home directory in cPanel under Files -> Backups -> Partial Backups -> Download a Home Directory Backup or simply rename the directory if you have enough free disk space available (50% or more).
-
Login to cPanel: Begin by logging in to your cPanel account using your credentials [Accessing your hosting control panel (cPanel)].
-
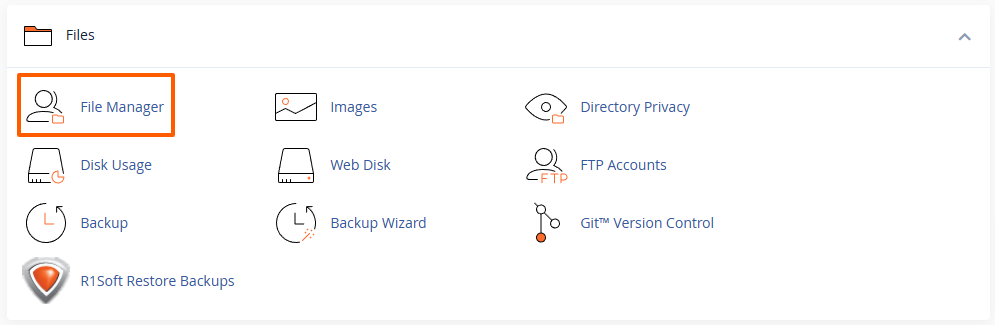
Locate the File Manager: In the cPanel dashboard, navigate to the "Files" section and look for the "File Manager" icon:
- Select Directory: In the File Manager, select the document root directory of your domain (e.g. the
public_htmldirectory) and click on the "Delete" button:
IMPORTANT: If you have enough free disk space available, you may consider renaming the directory instead of deleting it, as a precaution. After the backup is restored, you can delete it to free up space.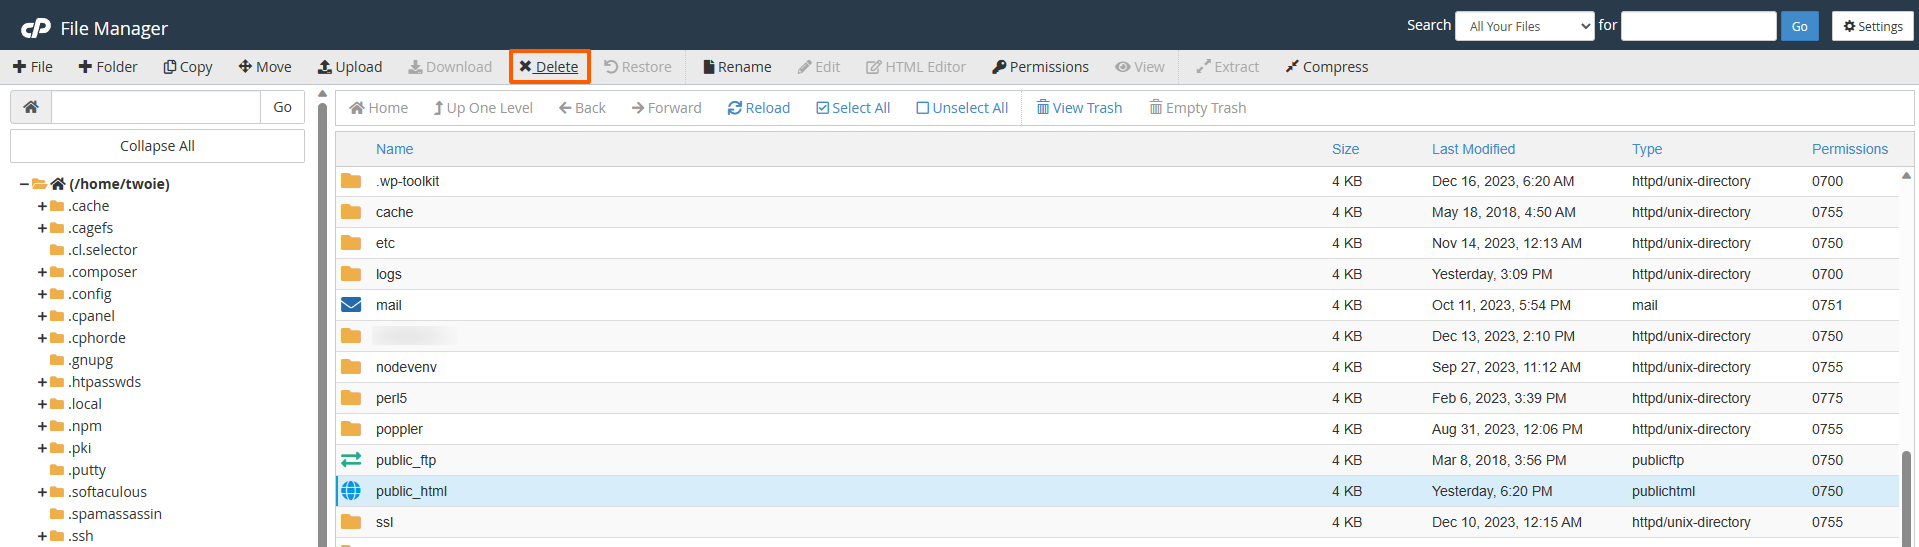
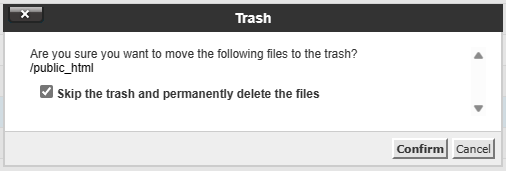
- Confirm Deletion: Confirm that you want to delete the directory. Select the option "Skip the trash and permanently delete the files", unless you have more than 50% free disk space available under your account, in which case the directory would be moved to the "Trash" directory.
Please wait for the selected directory to disappear. It can take several seconds to several minutes for it to be deleted, depending on how many files it contains. The screen would refresh shortly after the deletion completes.
In some cases, malware files may have special permissions assigned to prevent them from getting deleted. Please refresh the file manager to assure that everything has been deleted. If you still see the directory and files in it after the deletion, please change the file permissions to 644 or higher, or contact our technical support to have them removed.
Step 2: Accessing the R1Soft Server Backup Interface
-
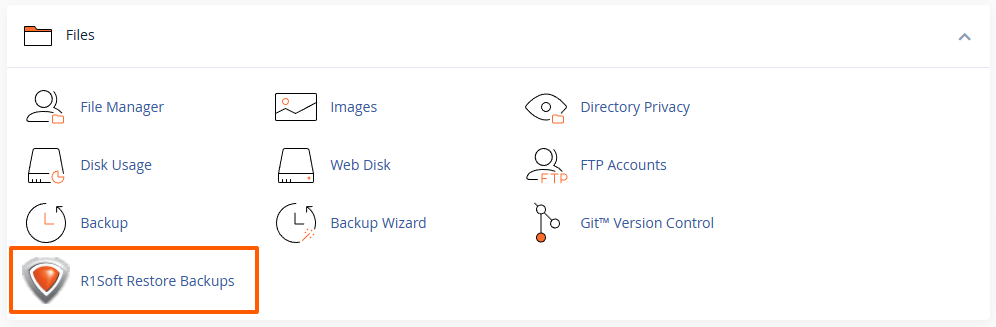
Locate R1Soft: In the cPanel dashboard, navigate to the "Files" section and look for the "R1Soft Restore Backups" icon. Click on it and you will be redirected to the R1Soft Server Backup interface:
- Select Restore Point: You will see a list with all available restore points. Look for the specific point in time from which you want to restore your site files.
Step 3: Selecting Files and Directories for Restoration
-
Click on "Browse": Next to the desired restore point, click on the "Browse" button. This allows you to explore the contents of the backup.

-
Find Directory: Navigate through the directory structure by double-clicking on the icon next to the directory and locate the directories or files you wish to restore.
-
Select Directory/Files: Check the boxes next to the directories or files you want to recover and click on the "Restore Selected" button. To restore the entire site, you would normally select the document root directory (e.g. the
public_htmldirectory):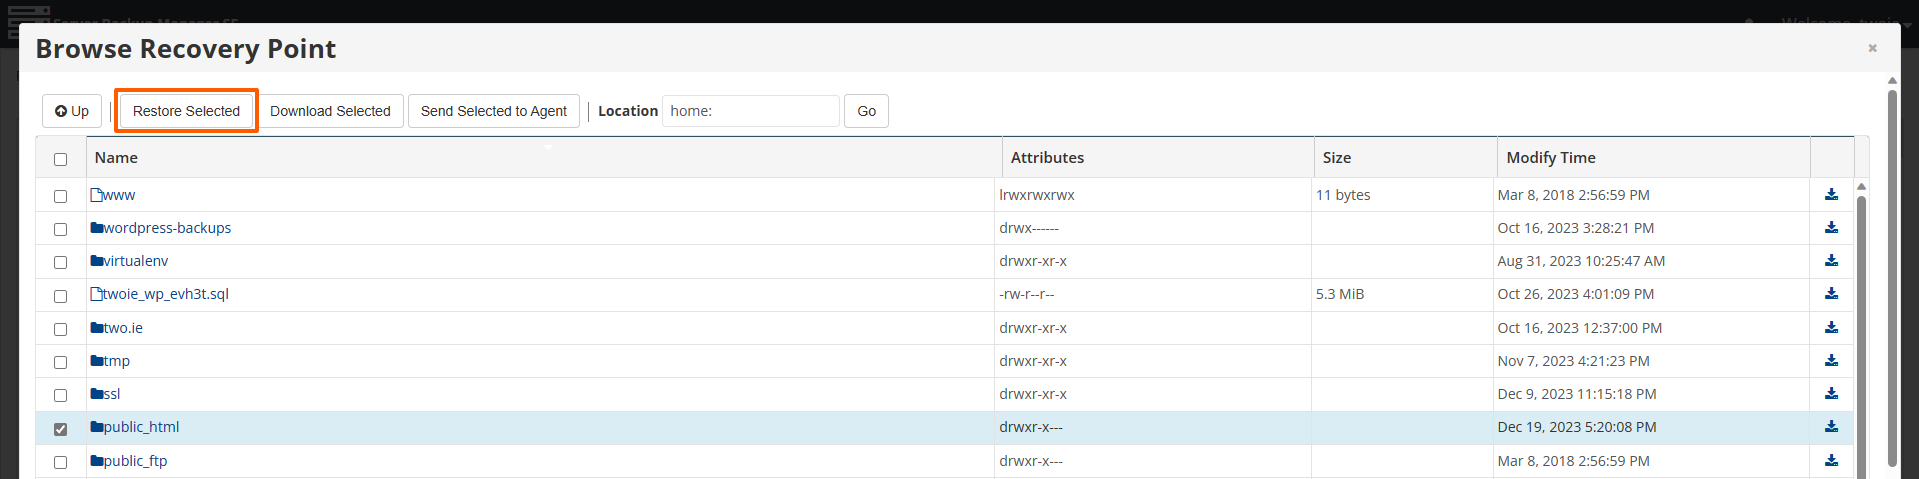
Step 4: Starting the Restore Process
-
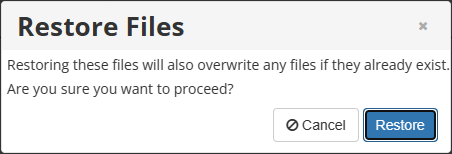
Click "Restore": After selecting the files/directories and clicking on the "Restore Selected" button, confirm by clicking on the "Restore" button to start the restoration process:
-
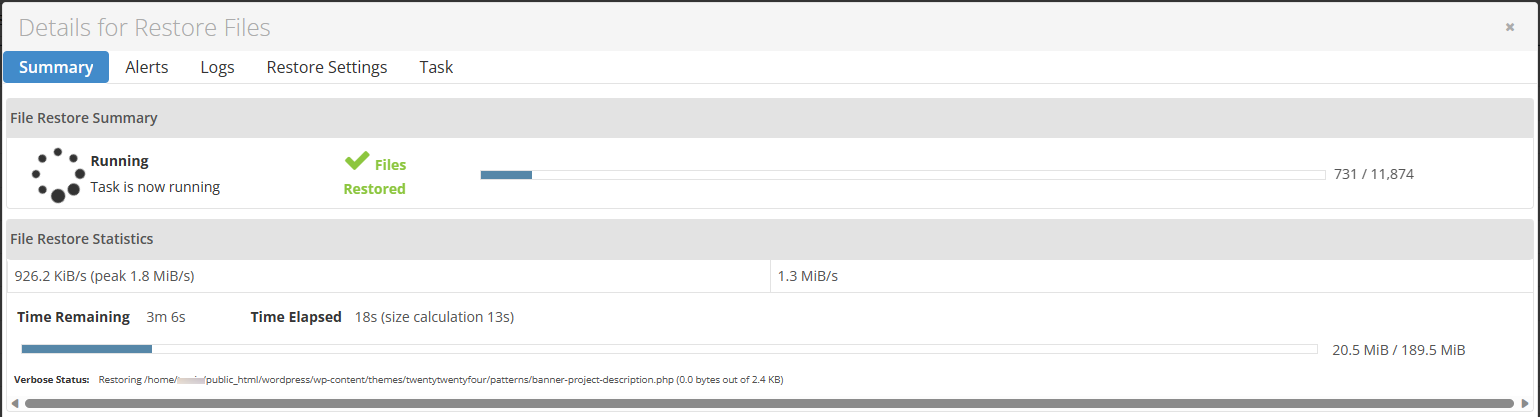
Monitor Progress: R1Soft will display the progress of the restore operation. Depending on the size of the files and the server's performance, this process may take some time. Please note that if you close the progress window, you will not be able to re-open it or find the status of the restore operation.
Step 5: Verification
-
Check Restored Files: Once the restoration is complete, verify that the files have been successfully restored. You can do this by accessing your website or checking the file paths through cPanel's File Manager.
-
Perform Testing: It's advisable to perform testing on your website to ensure that all functionalities are working as expected after the restoration.
Restoring Databases
It's generally recommended to also restore the MySQL database of your site after you restore the files, otherwise, there's a risk that compatibility issues and site errors may appear.
At the moment, it's not possible to restore databases on a self-service basis. These need to be restored by our backup specialists. To have a database restored, please open a ticket at our technical support department and specify which database and from which date it should be restored. We would work on having it restored within 24 hours.
Self-service restorations of MySQL databases are possible by manually downloading database backups in cPanel on the "Backups" page, by using WordPress Management to generate full WordPress backups, or through phpMyAdmin. Automated backups that include the site files and/or database can be setup using Softaculous, as described here: Automated Backups (softaculous.com)
Conclusion
R1Soft Server Backup on cPanel servers provides a powerful and user-friendly solution for safeguarding your website data. By following the steps outlined in this guide, you can efficiently restore site files from backup points, minimizing downtime and ensuring the continuity of your online presence. Regularly backing up your data and familiarizing yourself with the restoration process are essential practices for every website owner to mitigate the impact of unforeseen data loss events.
Updated by SP on 15/01/2025


