Custom error pages are useful for enhancing the user experience on your website. When a visitor encounters an error, such as a 404 Not Found or 500 Internal Server Error, a well-designed custom error page can provide valuable information and maintain the overall aesthetics of your site. In this guide, we'll walk you through the process of setting up custom error pages on a cPanel and an Apache web server using the ErrorDocument directive and .htaccess files.
Custom error pages can be created and served in many different ways:
- Easiest way: Create custom error pages through cPanel's Error Page Manager (covered in this article).
- Manually create custom error pages using your preferred editor and programming language.
- Setup custom error pages through your site's web application (e.g. WordPress, Drupal, PrestaShop, etc.).
Step 1: Create or Upload Error Pages
Create your custom error pages in cPanel -> Advanced -> Error Pages, or upload them to your website's root directory (recommended), or a directory of your choice. Ensure that they are accessible via a web browser. These pages should convey helpful information to users when they encounter errors.
For example, if you've created your custom error pages in cPanel, or uploaded them to the directory public_html, the URLs to your custom error pages might look like this:
- 403 "Forbidden" Error: https://example.com/403.shtml
- 404 "Not Found" Error: https://example.com/404.shtml
- 500 "Internal Server" Error: https://example.com/500.shtml
Alternatively, you can setup the custom error pages in your site's web application. Here is an article of how to setup a custom 404 page in WordPress, for example: Creating an Error 404 Page « WordPress Codex
There are also various plugins and themes that allow you to setup custom error pages, without requiring any programming. You can find such plugins here: Search Results for “custom error pages” | WordPress.org
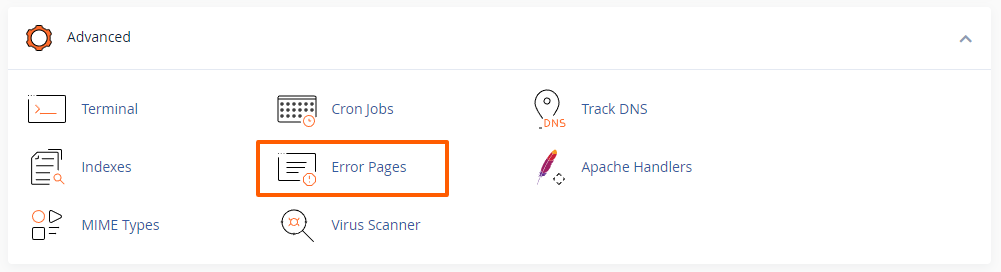
Step 1.1.: Create Custom Error Pages in cPanel
In cPanel you can easily create all types of error pages. To create a custom error page in cPanel, navigate to the "Advanced" section and click on the "Error Pages" button:
Select the domain name or sub-domain for which you'd like to create a custom error page and the error page code/type:
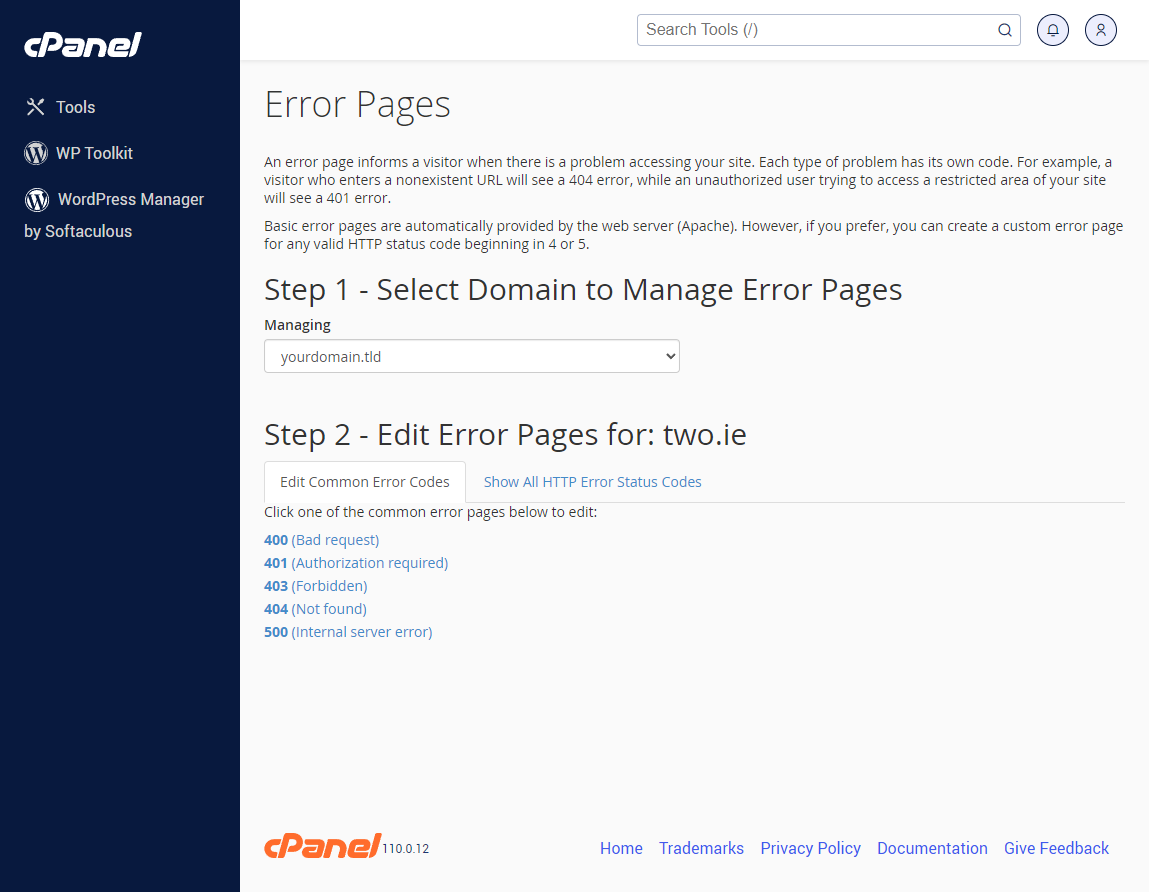
If you haven't found the required error code, click on the "Show All HTTP Error Status Codes" tab to show all error codes that are available on Apache web servers.
Create the custom error page you've selected in the previous step:
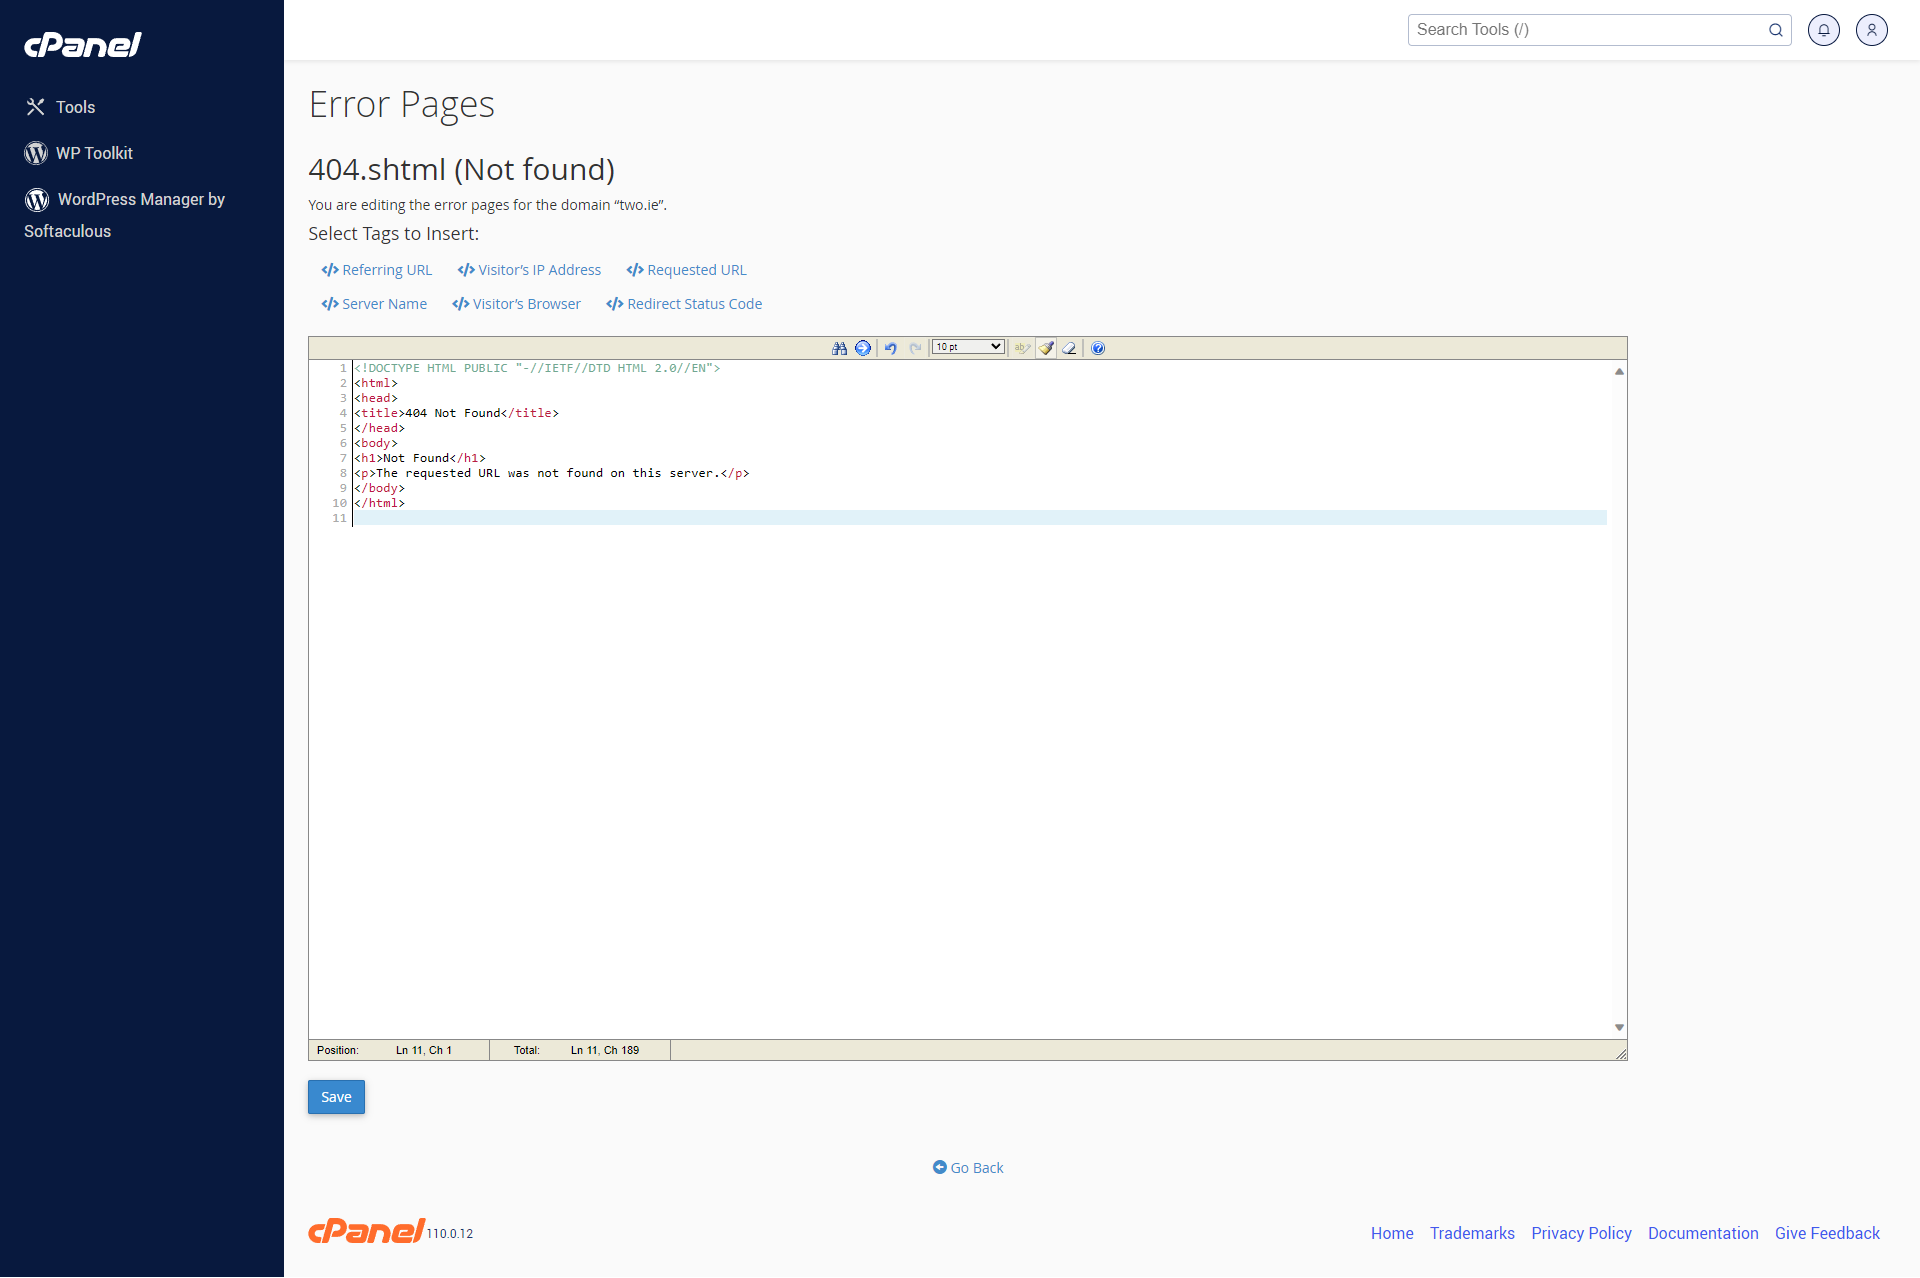
Click on the "Save" button.
The custom error pages created in cPanel are saved as Server-parsed HTML (SHTML) files in the domain's document root (e.g. the public_html directory) with the 3-digit error code as the file name. For example, the above "404 Not Found" error page would be saved as /404.shtml.
Step 2: Edit .htaccess File
You can use a .htaccess file in your web directory (e.g. the public_html directory) to define the custom error pages. If you don't have an existing .htaccess file, you can create one using the cPanel File Manager or your FTP program, through which you can also edit the file.
1. Create or edit the .htaccess file in your web directory using the cPanel File Manager, or your preferred text editor if you connect via FTP.
2. Add the ErrorDocument directives for the custom error pages that you have created. For example, if you've created custom error pages for the error codes 403 "Forbidden", 404 "Not Found", 406 "Not Acceptable", 500 "Internal Server" and 508 "Resource Limit Reached" (these are the most frequent error codes), you would add these directives:
ErrorDocument 403 /403.shtml
ErrorDocument 404 /404.shtml
ErrorDocument 406 /406.shtml
ErrorDocument 500 /500.shtml
ErrorDocument 508 /500.shtml
In these lines, we've used the default paths and file names that the cPanel Error Page Manager would normally use. If necessary, please replace the paths with the actual paths to your custom error pages. These paths are relative to the location of your .htaccess file.
3. Save and/or upload the .htaccess file to your web server's root directory or the directory where you want the custom error pages to be active.
Step 3: Test Your Custom Error Pages
To test your custom error pages, try accessing non-existent pages on your website, deliberately trigger errors, or use browser developer tools to simulate errors. You should see your custom error pages instead of the default Apache error pages.
Step 4: Verify Configuration
Once you've set up custom error pages, it's important to periodically check and verify that they are working correctly. Test various error scenarios to ensure that users receive the appropriate custom error pages and messages.
Congratulations! You've successfully set up custom error pages on your Apache web server using the ErrorDocument directive and .htaccess files. This not only improves the user experience but also allows you to maintain the look and feel of your website even when errors occur.
Updated by SP on 16/10/2023


